Knitting Blanket Edges
Knitting Blanket Edges - Read more about blocking onthis blog post. Web a step by step tutorial on knitting edges neatly and how to prevent the most common mistakes. 6 showing off your hand knit blanket. A lot of beginners, but sometimes even advanced knitters, struggle with their edges. Taking the time to carefully block a finished blanket or other knitted object is essential. It’s a simple yet effective technique to prevent excessive curling. This article contains affiliate links that support handy little me content and free patterns. Web this quick and easy to follow knitting tutorial will teach you how to slip the first stitch of each row of your project,.more. Follow along as i walk you through each step and show you how easy it i. In this blog post, you will see how to knit a blanket and view a free + easy beginner pattern. This row of picked up stitches counts as a row of knit stitches on the right side. They are often a bit too loose and not especially uniform. The benefit of knitting a blanket is that you can make one that’s cozy using super bulky yarn and (us 17) 12 mm knitting. Add a chain with little bumps. Or does. If you're brand new to knitting, you may notice that you have. 2 pick up stitches along the edge. 3) on the wrong side, knit back. It’s a simple yet effective technique to prevent excessive curling. 6 showing off your hand knit blanket. This row of picked up stitches counts as a row of knit stitches on the right side. They are often a bit too loose and not especially uniform. Rep from * to last 2 sts; Adding a border is a wonderful way to keep your blanket flat. Web a step by step tutorial on knitting edges neatly and how to. If you're brand new to knitting, you may notice that you have. Read more about blocking onthis blog post. For this border i was using medium weight yarn and 4 mm knitting needles, but i am sure even dk weight will w perfectly work too. Do your edges look wonky? Invitation to our facebook group. Click on the image to enlarge it. Web this quick and easy to follow knitting tutorial will teach you how to slip the first stitch of each row of your project,.more. How to knit a blanket with circular needles. Web 1 binding off all stitches. Web the edges can make or break a knitting project, so make sure they are. That usually means cutting the working yarn and sliding/slipping the stitches back. Do your edges look wonky? A lot of beginners, but sometimes even advanced knitters, struggle with their edges. Adding a border is a wonderful way to keep your blanket flat. Invitation to our facebook group. Click on the image to enlarge it. Adding a border is a wonderful way to keep your blanket flat. 2 pick up stitches along the edge. I like to use this border for different stitch demonstration. No wonder it’s a popular method! Adding a border is a wonderful way to keep your blanket flat. 3 weaving in the loose ends. Do your edges look wonky? That usually means cutting the working yarn and sliding/slipping the stitches back. This works for every stitch pattern, is easy to do, easy to remember and looks really neat. Or does your knitting pattern require you to add “selvage stitches” and you have no idea what it means? Web knitting tips on how to knit neat edges and the 10 best edge stitch knitting techniquesread the full tutorial here: A lot of beginners, but sometimes even advanced knitters, struggle with their edges. For this border i was using medium. 2) join in new yarn (probably) and cast on the number of stitches your edge pattern calls for. Web knit blankets can sometimes curl at the edges, especially when made in stockinette stitch. Do your edges look wonky? How to knit a blanket with circular needles. However, you’re going to want to go about creating these borders carefully so that. Follow along as i walk you through each step and show you how easy it i. The benefit of knitting a blanket is that you can make one that’s cozy using super bulky yarn and (us 17) 12 mm knitting. For this border i was using medium weight yarn and 4 mm knitting needles, but i am sure even dk weight will w perfectly work too. 6 showing off your hand knit blanket. Web 1 binding off all stitches. Add a chain of v:s to the sides. This works for every stitch pattern, is easy to do, easy to remember and looks really neat. Choosing or designing a pattern. Web this quick and easy to follow knitting tutorial will teach you how to slip the first stitch of each row of your project,.more. When you slip the first stitch of every row it creates neater edges. In this blog post, you will see how to knit a blanket and view a free + easy beginner pattern. That usually means cutting the working yarn and sliding/slipping the stitches back. Or does your knitting pattern require you to add “selvage stitches” and you have no idea what it means? It’s done by slipping the first stitch of every row purlwise with yarn in back and purl the last stitch. This row of picked up stitches counts as a row of knit stitches on the right side. It's really important to carefully pin the knitting in exactly the shape desired with very straight edges so that the knitting will look the best when dry.
How to Blanket Edge Stitch Knitting Stitch Guide YouTube
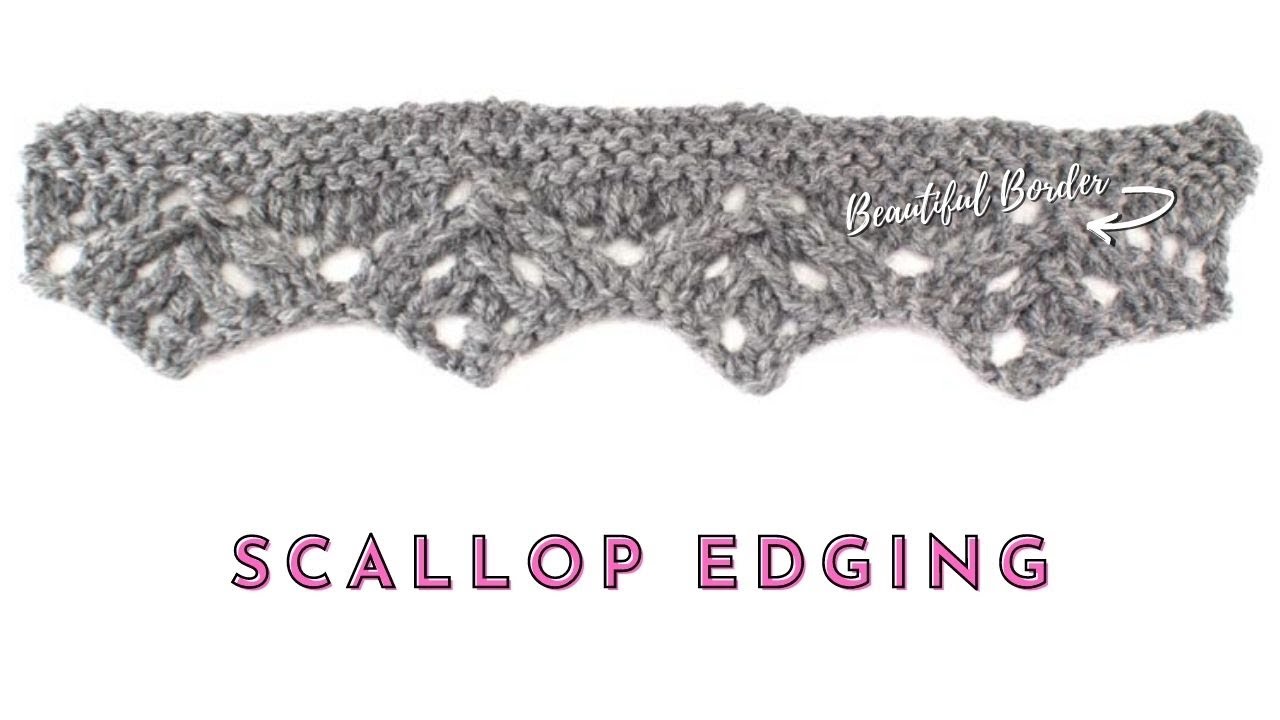
How to Knit the Scallop Edging Lace Knitting Border YouTube

tutorial knittedon border turning the corner La Visch Designs

Adding a Garter Ridge Edge to a Blanket with a Knitting Loom YouTube

These 4 Stitches Will Instantly Improve Your Knit Edges Knitting Nuances

How to Knit a Perfect Edge Finishing Free Technique — for the love of

Crochet Edging on Knitted work How To Girlybunches YouTube

How to Knit a Clean Edge Tutorial

46+ Ways You Can Get More Knitted Edges Borders While Spending Less

How to knit neat edges Essential knitting tips for instant results
3) On The Wrong Side, Knit Back.
Web Double Selvage Works Great With 1X1 Ribbing.
This Article Contains Affiliate Links That Support Handy Little Me Content And Free Patterns.
What’s Actually Happening Is That The Slipped Stitches Lengthen And Get Pulled Up To The Next Row.
Related Post: